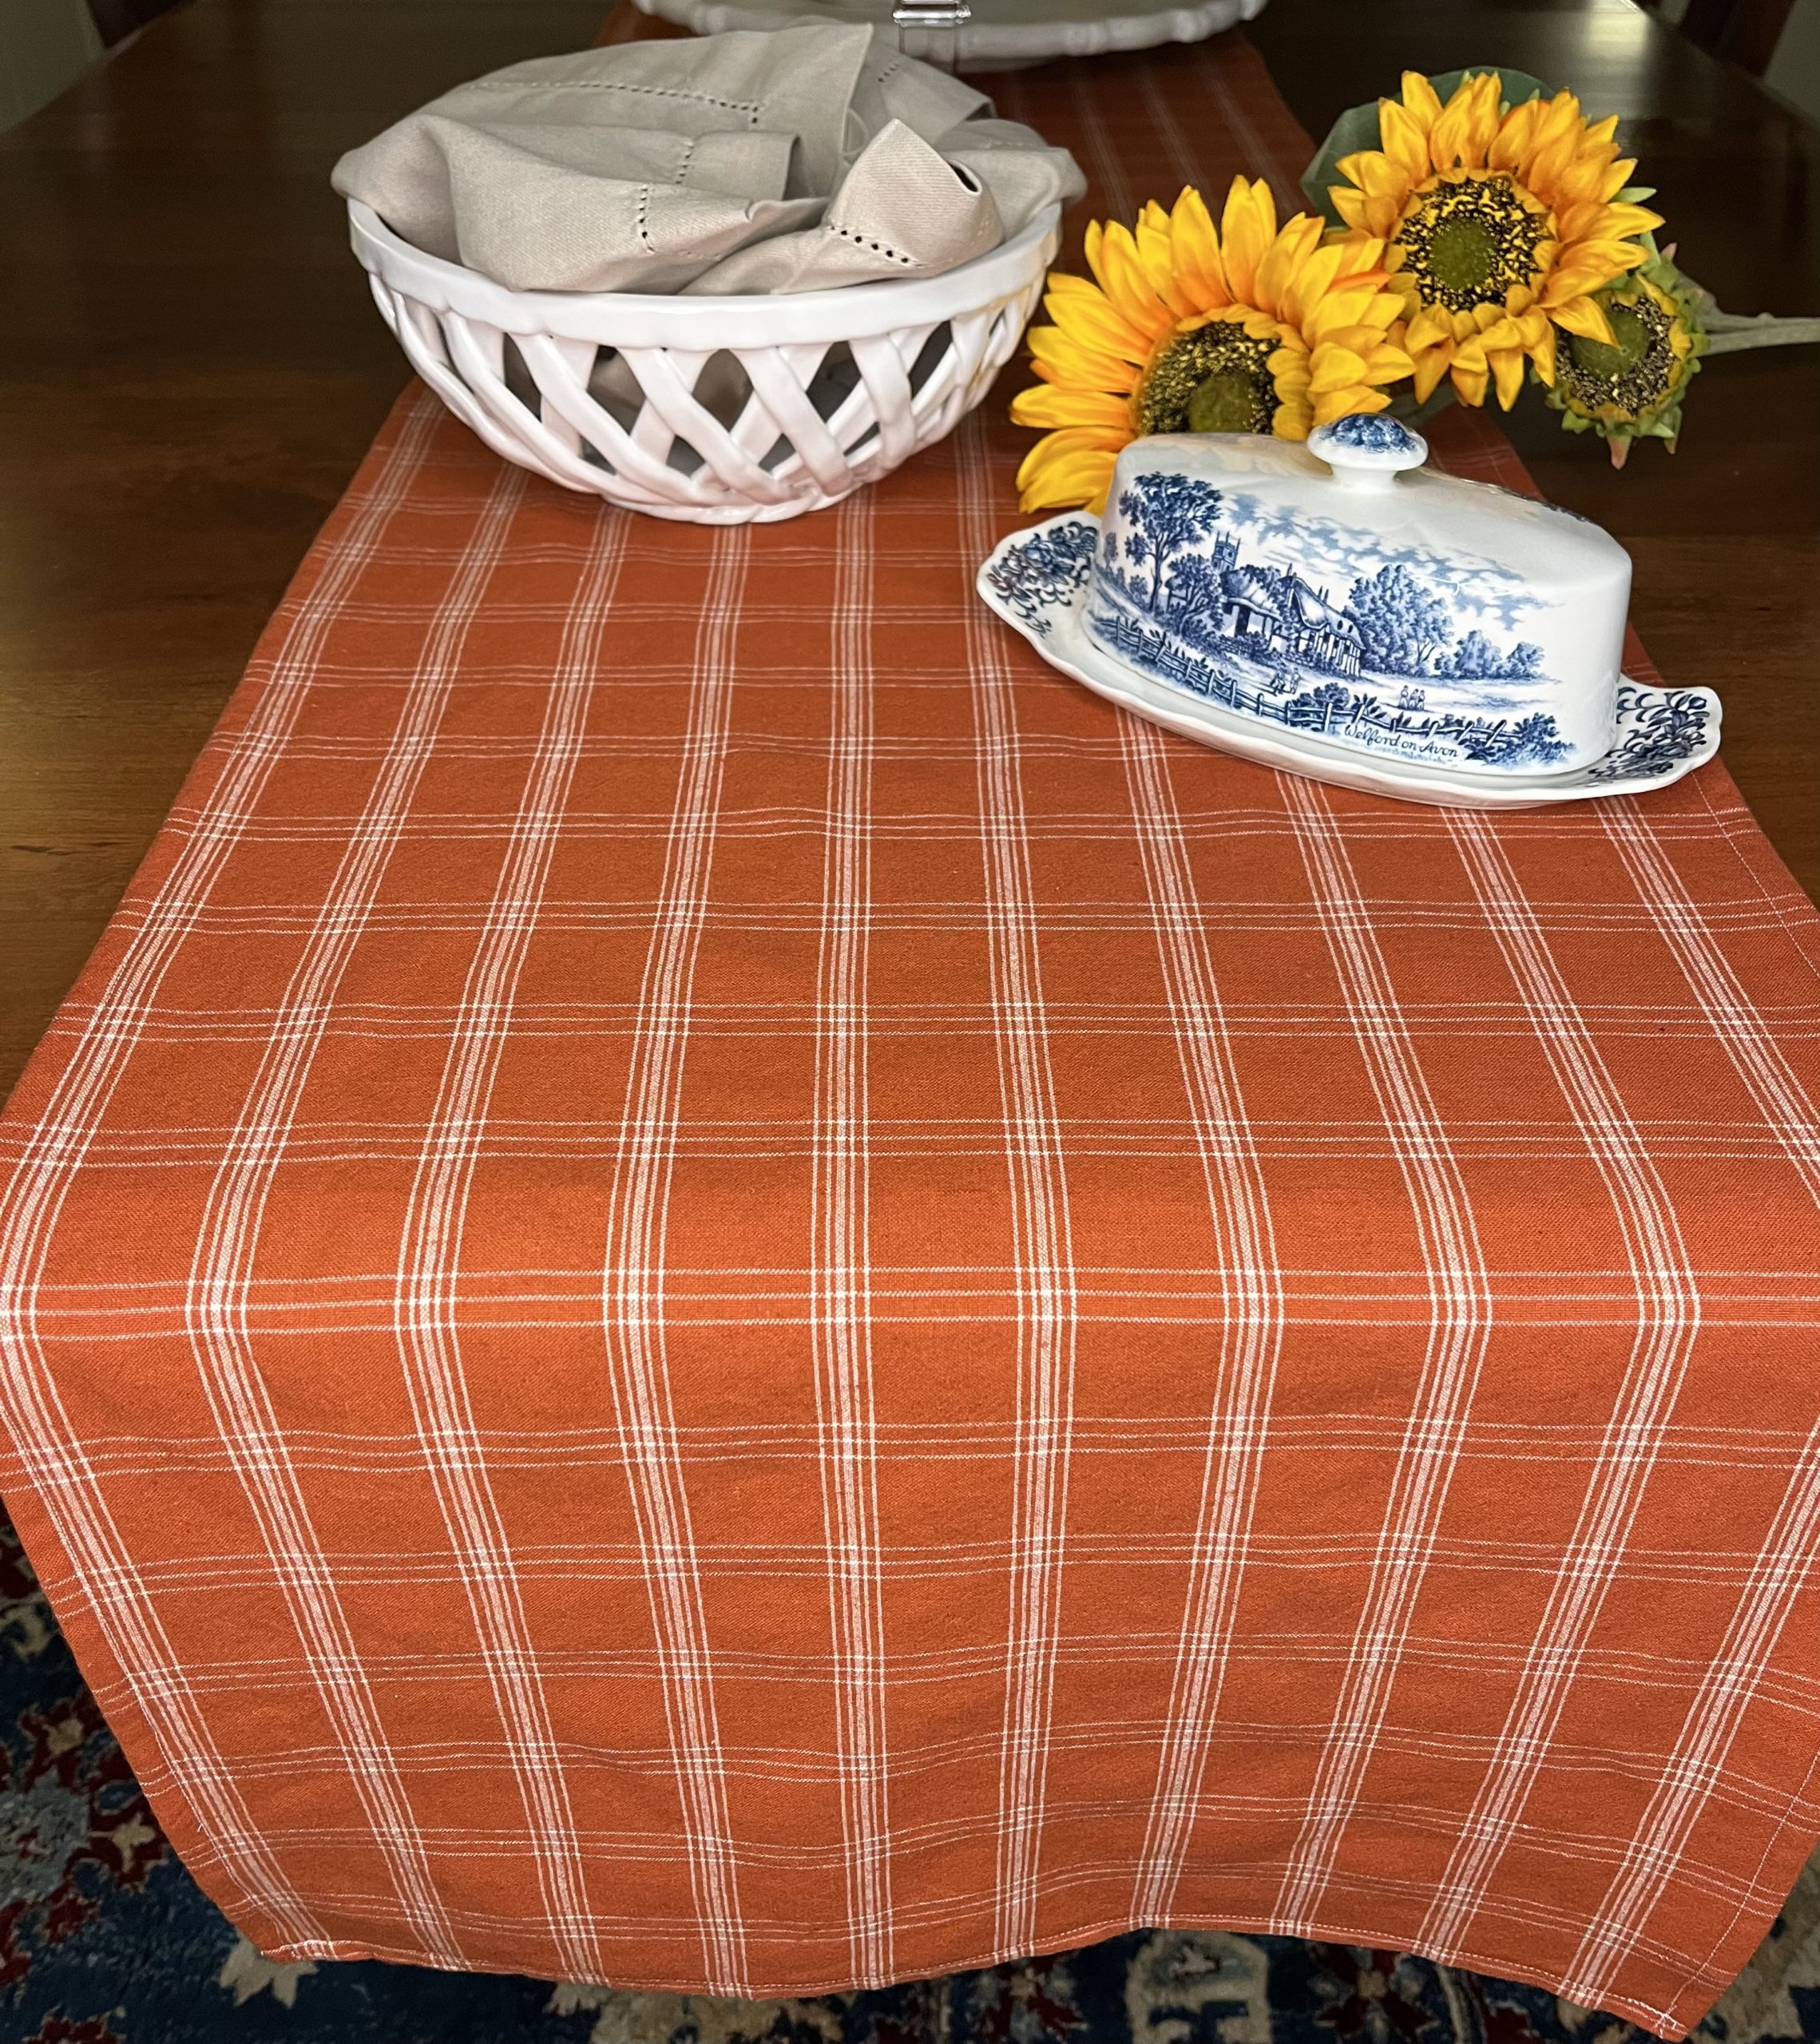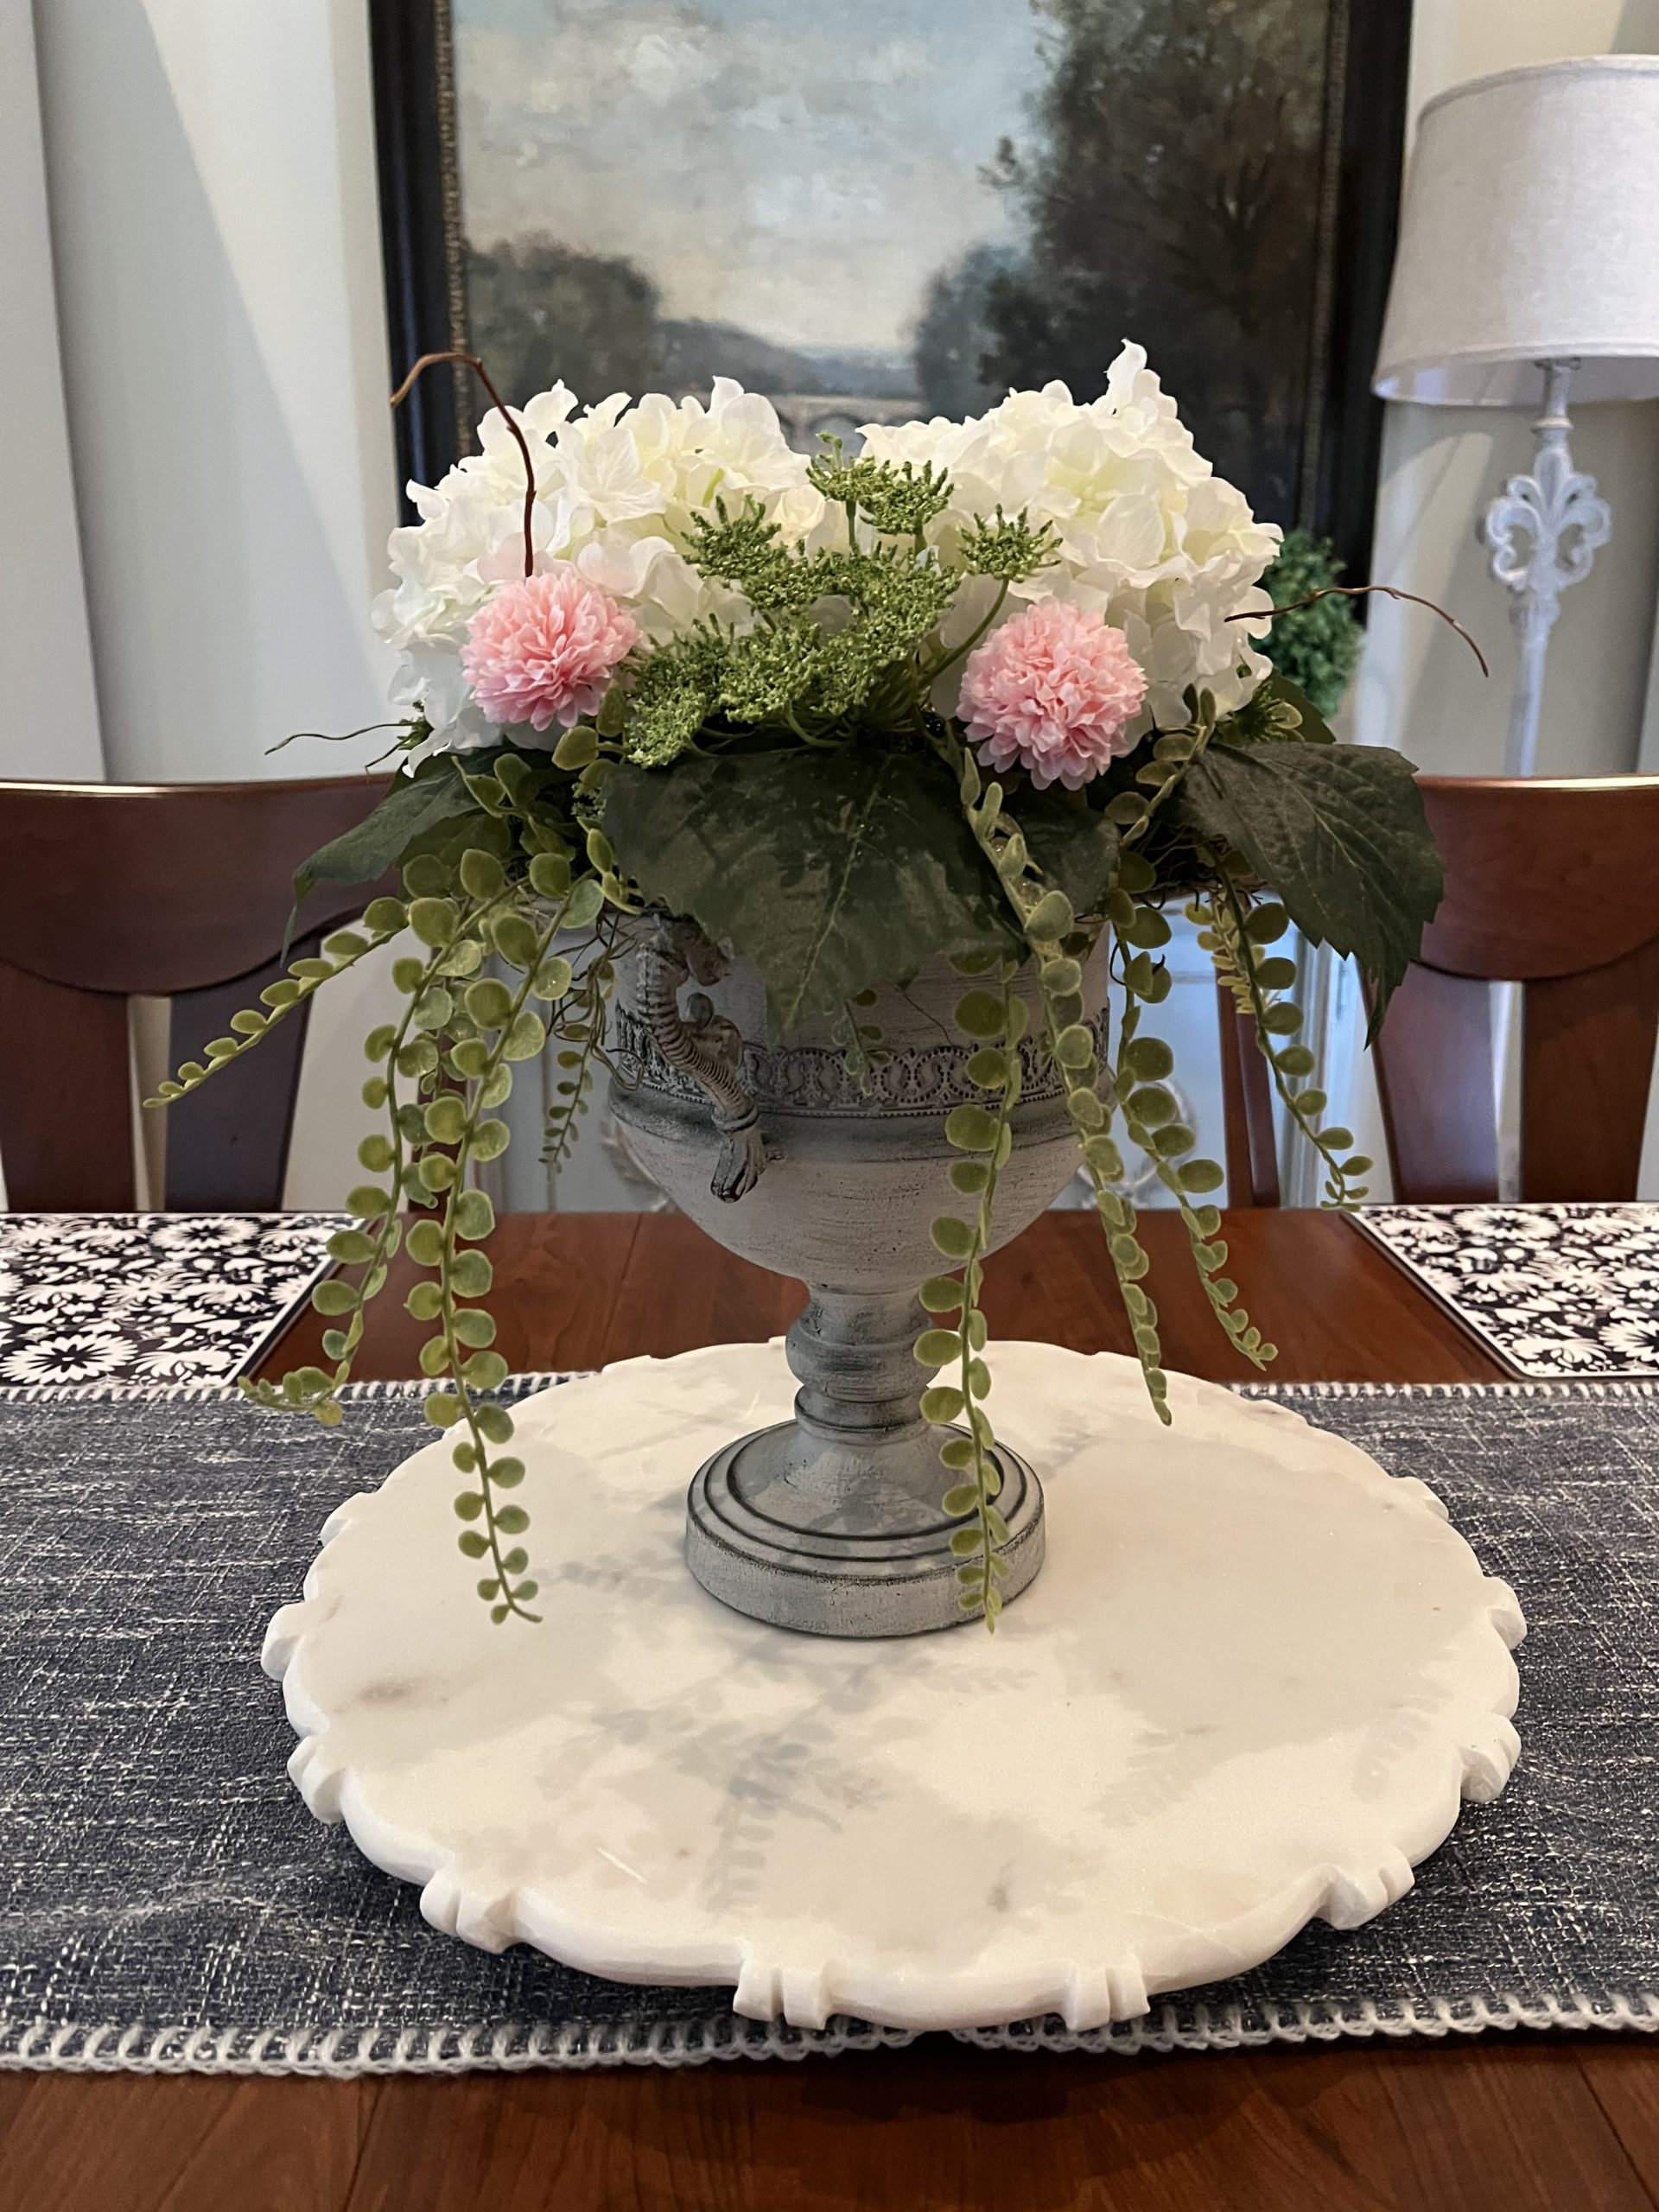
Fall is one of my favorite seasons to decorate for. This year I plan to incorporate one of my blue and white vases along with sunflowers into my fall table decor. However, I needed a new table runner to tie it all together. My table has two leaves to extend it and undoubtedly, I can’t ever find a storebought runner long enough. So, I decided to learn how to sew my own table runner.
Before going to Hobby Lobby to purchase my fabric, I measured the length of my table including both leaves. For my first table runner, I decided to sew a simple one piece rectangle. Before purchasing any fabric, I knew that I needed to have an accurate measurement. My total was 108 inches before factoring in extra for any overhang. Additionally, I added 9 inches per side for a total of 18 inches. After calculating the total length, I purchased a 3 and 1/2 yard piece of fabric. Lastly, the width of the material was cut down to 17 inches to have a final measurement of 16 inches with a 1/2 inch seam on both sides.

Materials Needed
- Fabric
- Wonder clips or pins
- Sliding marker sewing gauge
- Basic sewing machine
- Rotary cutter
- Cutting mat
- Ruler
- Serger (optional)
Instructions
- Iron the fabric.
- Trim off the selvage from your fabric.
- Cut the width of the table runner. For example, my runner is 16 inches and I cut the fabric at 17 inches to allow for a 1/2 inch seam on each side.
- Serge all four sides and trim off the excess thread tails.
- Use wonder clips and a sliding marker sewing gauge to clip (pin) your runner at a 1/2 inch.
- Sew a 1/2 inch seam on all sides of the napkin. Trim the thread tails at the end.
- Iron the runner to remove any creases.
Here’s the process on how to sew your own table runner.
Muisican: EnjoyMusic
Site:https://enjoymusic.ai
I hope that you found this tutorial easy to follow. Also, if you used this post to help you make your own table runner, please comment here and share a picture with me. Looking for more detailed instructions? Check out my similar post on how to sew your own napkins here. Lastly, follow me on social media for more inspiration.


