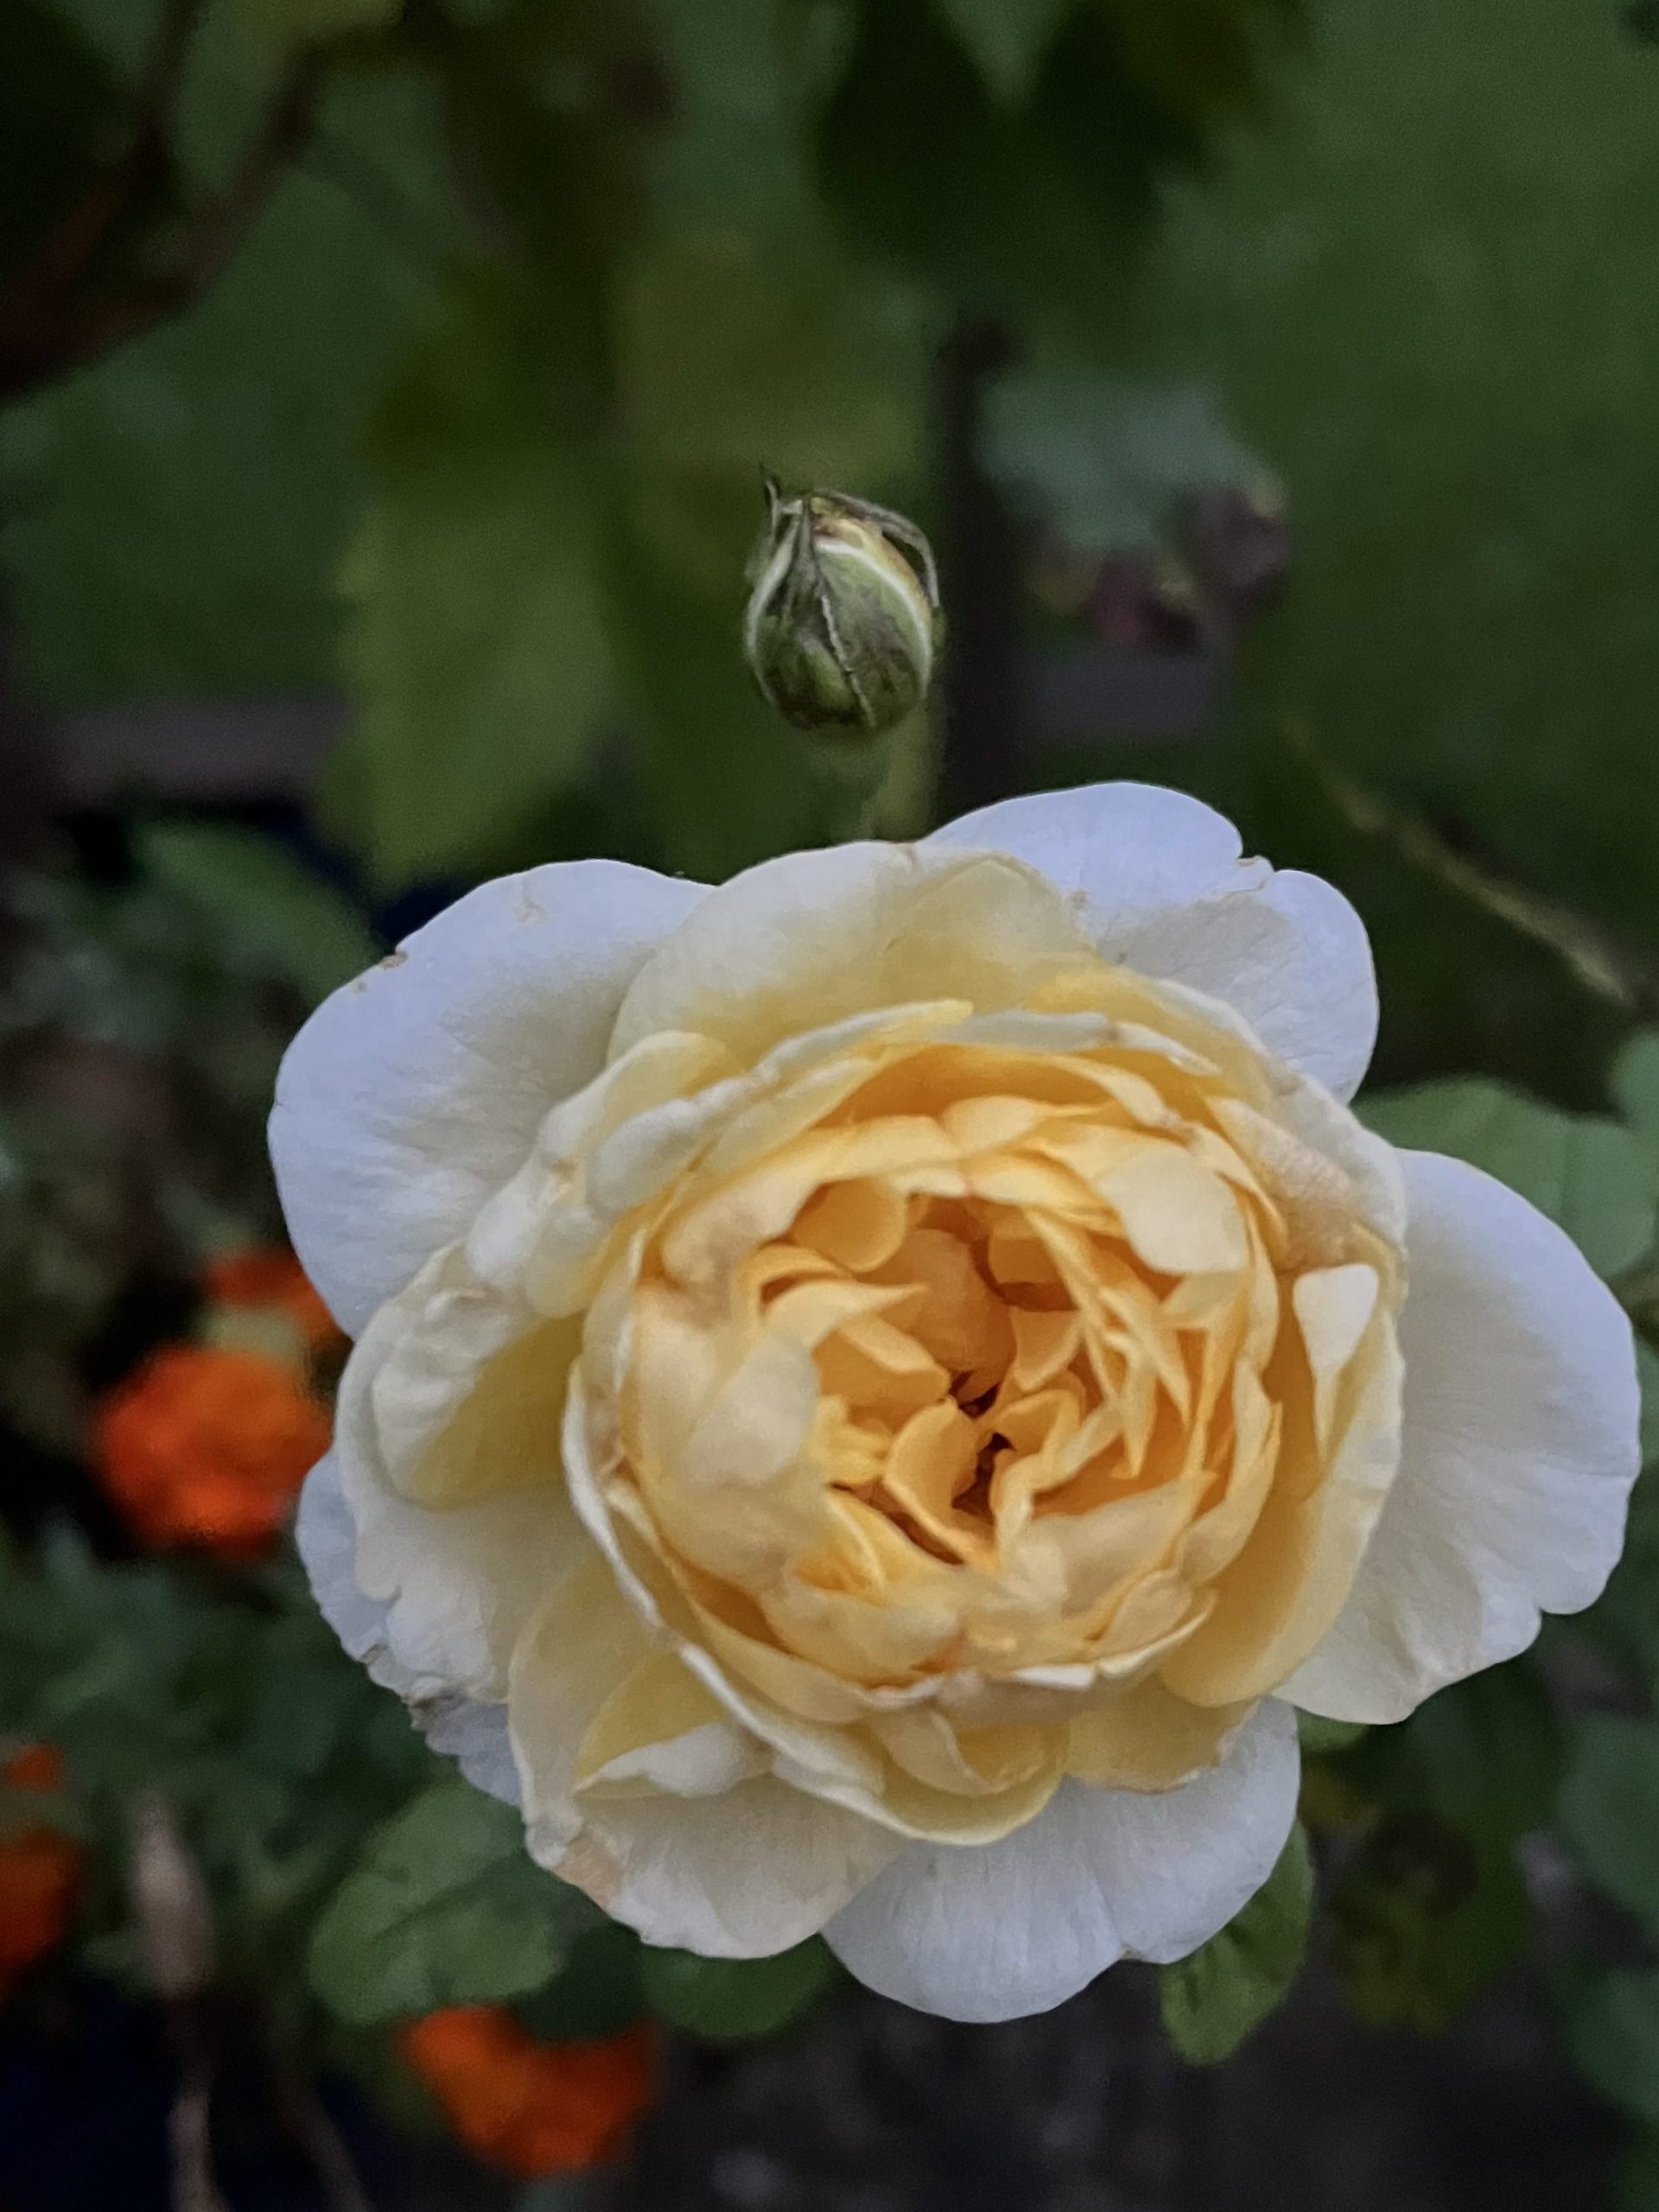
Roses are some of my absolute favorite flowers. We grow several different varieties in our garden. This year I wanted to learn to propagate some of the roses. After our first cool front of September, we decided to try out this new process. This time of the year is optimum for propagating roses in our area.

As the rose stems are generating roots, it’s important that they don’t stay saturated. The soil needs to be moist, but not too wet. Therefore we mixed Grade A Cypress bark and soil together to allow for drainage. A mixture of peat moss and vermiculite could also be used. After filling the pot with the soil mixture, water it from the top thoroughly. You may need to add more soil after it settles.
Once the pots have been set up, it’s time to select a good stem from your rose bush. You are looking for a thick one with flowers that are beginning to die. Avoid choosing one that’s putting off new growth. Cut the stem from the bush and remove the flowers. Depending on the length of your stem, you may be able to get two cuttings from it. Next, pull off all but four sets of leaves and remove all the thorns below the remaining sets of leaves. This wounds the stem and is where the new roots should develop.

After preparing the stem, dip it into the root hormone mixture. Remove any excess powder by tapping the stem against the side of the container. Plant it into the nursery pot by pushing it down far into the soil. Cover the top with plastic wrap to help trap moisture. Make sure to remove any loose flower petals from the leaves to keep them from rotting. The plastic wrap will be kept on the plants for about four weeks to allow for the soil to stay moist and promote root development.

The last step in the preparation is to water the plant from the bottom. This will help keep the rooting hormone from being washed off of the stem. Using a child-sized pool, I set my pots into the water for an hour and then remove them. I will repeat this process daily for the next two weeks. After the roots begin to establish, watering time may be less. It’s important not to overwater to avoid root rot. Finally, remember that the plants need to be kept out of direct sunlight to keep them from burning.
Materials Needed
- Plastic nursery pots
- Root hormone
- Plastic wrap
- Grade A Cypress Bark
- Soil
- Pruning shears
Instructions

- Mix soil and bark together to fill your nursery pot.
- Water the soil thoroughly before adding the rose stem.
- Trim the stem from the rose bush. Cut the dying flowers off of the stem.
- Pull off all but four sets of leaves from your stem. Remove all the thorns below the remaining sets of leaves.
- Put the stem in the rooting hormone and tap off any excess powder against the side of the container. Place the stem into the nursery pot.
- Cover the top with plastic wrap. Water the plant from the bottom for an hour. Remove the plant from the water and keep it out of direct sunlight.
- Continue the watering process for the next two weeks while roots begin to grow.
- After the roots have grown, continue to water making sure to avoid saturating the roots.
Here’s the process of how I prepared the stems for the container.
I hope that you found this tutorial easy to follow. Also, if you used this post to help you propagate your own roses please comment here and share a picture with me. Looking for more inspiration for your home? Check out my post on creating a table centerpiece here. Lastly, don’t forget to follow me on social media.
